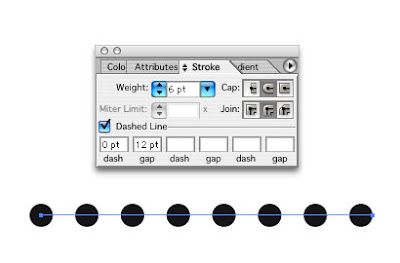
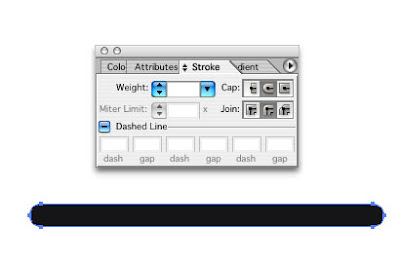
The usual way to create a dotted line in Illustrator is to use the dashed line dialog in the Stroke panel. But just say that dotted rule had Outline Stroke applied to it. Yikes! Dots no more, just a single oval thing now appears. Expand apprearance does something similar, turns the dots into one long rectangle.
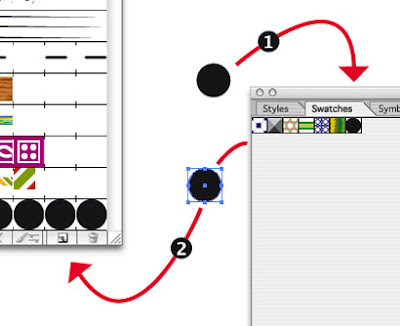
Here's a much more flexible approach to applying dots to rules, ovals and boxes. First create a simple dot shape. Now drag that dot into the Swatches panel, then drag the now swatch of the dot onto the desktop and then onto the New Brush icon on the Brushes panel and hit New Pattern Brush.
In the Pattern Brush Options set it up like so. You want to fill up those five boxes at the top by clicking on one and then clicking New Pattern Swatch. Set the Colorization to Hue Shift, so you can change the colour of your dots later by simply changing the stroke colour. Set the Size as below to begin with but altering them you can change the spacing between your dots later. Also altering the stroke size will increase the size of the dots.
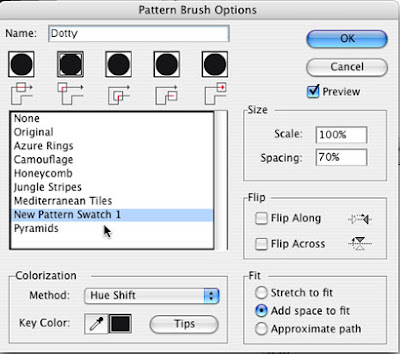
Finally click Add space to fit will automatically adjust the dots applied to ovals, circles and boxes. Make a file with this brush, call it dots or whatever and dump the file into your Illustrator - Presets - Brushes folder, and when you restart Illustrator it will be available in your Window - Brush Libraries pull down dialog.
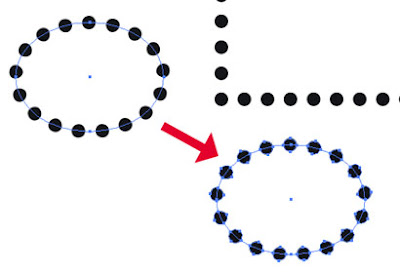
Now when you go Expand Appearance, the dots remain dots.

1 comment:
Gracias! Thank you!
Post a Comment